 Deep cleaning the kitchen doesn’t have to be complete drudgery if you have a plan. To that end, here is a step-by-step guide including some of my best kitchen cleaning hacks!
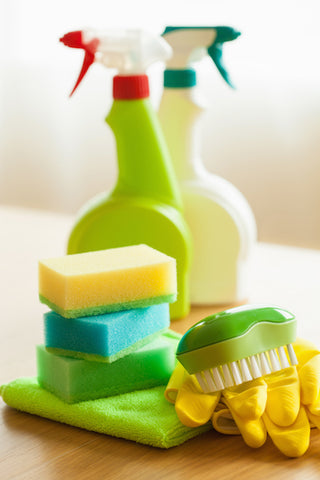
Supplies Needed Deep Kitchen Cleaning
- Step ladder
- Microfiber cloth
- Bucket
- Mop
- Old toothbrush
- Rubber gloves
- Oven cleaner
- Cleaning products of your choice
- Plastic trash bags (I like to use large construction bags as they can hold more heavy stuff)
- MUSIC!
Okay now that we have the proper tools, let’s get going.
What to Wear to Clean Your Kitchen
Before we get started, make sure you are properly dressed.
I wear old clothes that are loose (think baggy jeans and a big, loose shirt) that I don't mind getting bleach or gunk on. I also make sure to cover my hair to protect it from falling dirt and dust.
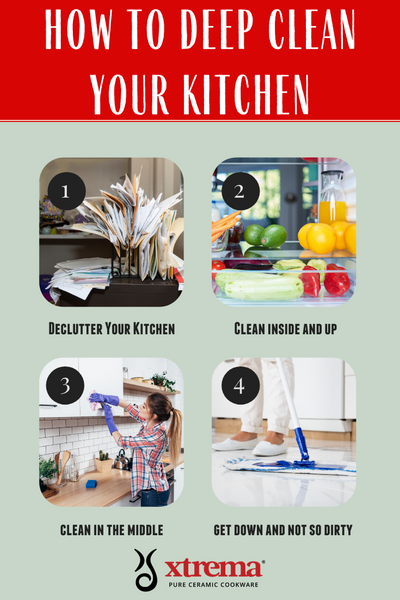
Step 1: Declutter Your Kitchen
You can't clean what you can't access so let’s start by moving everything out of the space.
If your house is anything like mine, the kitchen the last place everyone passes through before heading out the door. It’s also the first place they come in. Mail, school work, projects, pencils, bits of clothing taken off on the way upstairs, all gets dropped in the kitchen (teenagers, need I say more?).
- Start by decluttering the kitchen counters and cabinets. Move everything off the counters and out of the kitchen (enlist the kids to put the stuff where it was supposed to go the first time).
- Take no prisoners on the “stuff.” Throw out old mail, folders, clear off the bulletin board. Go through cabinets and throw out old spices, half used bags of rice and cereal, beans, pasta, anything that has been opened for some time or is past its use by date.
- Remove everything else and put it somewhere safe from all the cleaning (I typically put everything on the dining room table and cover it).

Step 2: Clean In and Clean Up
- Start with the insides of the refrigerator, oven and light fixtures. Cleaning hack here: multitask where you can! Before you tackle the refrigerator, spray the oven with an oven cleaner (make sure your kitchen is well ventilated), remove the globes from the light fixtures and place in dishwasher (make sure they are not too fragile) and wipe down the fans while removing the globes.
- I typically work top-down for everything except the refrigerator. Take time to go through the entire thing, being ruthless about what stays and what goes. Old sauces and salad dressings not only take up valuable space, but no one wants to play food poison roulette, which is what can happen with items that are past their prime. Remove and clean shelves then give the inside a really good scrubbing. On the exterior, clean the top, doors and sides before putting shelves back.
- Reach for the sky! Well sort of. Grab your bucket, sponge, ladder and get to it! Grease and grime have a way of making their way into places you least expect, so be thorough. Empty cupboards (you’ve already taken out the outdated food) and get way in the back to remove dirt and dust and give the walls a good wipe down.
Step 3: Clean the Middle
- Clean the countertops, stove, sink and appliances. This is the midrange area, all areas that can be seen without too much effort so take extra time here.
- Remove the knobs from the stove and soak them in hot water. Tackle the stovetop, oven vent, windows and windowsills and finish with the countertops. I also take this time to reorganize the drawers too.
- Unplug all your appliances and make sure they are clean.
- Here’s a microwave cleaning hack: pour one cup of white vinegar and one cup of water in a microwave safe bowl. Place inside the microwave and turn it on for about 5-10 minutes. When it beeps, you will be able to wipe off the stuck on food with ease!
Step 4: Get Down and (No Longer) Dirty
We’re almost at the finish line! Your kitchen should be looking brighter and smelling even better. Last but not least are the floors and baseboards. I find the best way to do baseboards is the old fashioned way, on my hands and knees.
- Using your cloth, wipe the baseboards.
- Grab your old toothbrush and run all along the baseboards (the toothbrush is perfect for getting in the corners and crevices).
- Wipe off excess water.
- Sweep the floor.
- Mop the floor.
