

From a lunchbox staple to a popular side dish, bread has existed for over 10,000 years. Almost every country and culture has its own version of this delicious baked dish rooted in history and tradition. Adding a dash of butter is enough to turn it into a fulfilling meal.
Baking bread might seem difficult, but with a few basic ingredients and plenty of time, you can make your own homemade bread. You can bake many different types of bread. Your final product depends on the recipe you choose and the ingredients you use.
However, most breads follow a similar process. Take the first steps to make your own warm and hearty baked treat with our ultimate guide to baking bread and the types of bread you can try in the kitchen.
How to Make Bread
Breadmaking follows specific processes that can impact the final product. Before you step into the kitchen, look at the steps you need to take to bake the perfect bread.
Step 1: Gather Your Ingredients and Equipment
Collecting all your ingredients and equipment is an optional step. However, it can help you save time moving around the kitchen and searching for a bowl or spoon.
Gathering your ingredients also ensures you have everything you need to make your bread. The basic ingredients are essential to ensuring that you get the texture and rise you want. You can gather the additional toppings or fillings while the bread is proofing or in the oven.
Step 2: Mix Your Ingredients
Measure all your ingredients first. Once they're measured, you can start mixing the dry and wet ingredients. You want to combine your dry and wet ingredients in separate bowls before adding them together. Baking bread is a science. Adding the wet ingredients to the dry ingredients causes a reaction that affects the rise and the texture.
Step 3: Make Your Dough
After adding the wet ingredients to the dry ingredients, you mix them to create a dough. Proper mixing evenly distributes the leavening agents and helps you avoid pockets of flour in your dough. Mixing also develops gluten that stretches the dough, giving it a great texture.
You can choose to mix and knead your dough by hand or stand mixer. But you have to be careful not to overmix your dough. Your bread can become chewy, heavy and hard. Mixing by hand allows you to feel the texture of the dough and if it is too wet or dry. If you use a stand mixer, mix the dough for no more than eight minutes, depending on the speed of the mixer.
Step 4: Allow Your Dough to Rise
Cover your bowl with lightly oil-coated plastic wrap and a damp towel to allow your dough to rise. The rising stage is also called the fermentation stage. The towel keeps the dough warm and helps it ferment, as it needs to rise in a warmer environment. Keep it covered to prevent the warm, humid air from escaping.
During fermentation, you should notice gas-filled bubbles caused by the leavening agent or yeast. If you do not see any bubbles, be patient. Your bread could be rising slowly, so give it more time. It could also be because you did not add enough yeast. Allow your bread to rise for one to three hours. If you let your bread ferment too long, it could lose its gases and alter the texture.
Step 5: Knead Your Dough
After the first rise, knead your dough to release some of the air and gases. Dust some flour on the counter or table where you will knead the dough to prevent it from sticking to the surface. As you start kneading, you should be gentle to avoid overworking your dough after the first rise. You can press down on and fold the dough and then add it to your loaf pan.
Step 6: Proof Your Dough
After placing your bread in the loaf pan, leave it to proof. This is the second rise and allows more air bubbles to form. Since you punched down on the dough when kneading, it should double in size in the pan.
You can check if the dough is ready for baking using various methods. Inflating and doubling in size is a great indication. You can also poke the dough. If it leaves a print and puffs up slowly, you know it is ready. Proofing your dough can take up to one hour.
Step 7: Bake Your Bread
Preheat the oven before you bake your bread. The time and temperature you will bake your bread depends on the oven and the type of bread or bread recipe you want to make. A standard temperature is between 350°F and 475°F (180 and 246°C), typically at 375°F for around 35 minutes.
You should watch your bread while it is in the oven. A rich golden brown top is ideal. Another way to check if the bread is done is the knocking test. After 35 minutes, lightly tap the top of the bread. If it sounds hollow, you're good to go. Avoid leaving your bread in the oven to keep it warm. The exterior of the bread will overbake and become too hard.
Step 8: Allow Your Bread to Cool
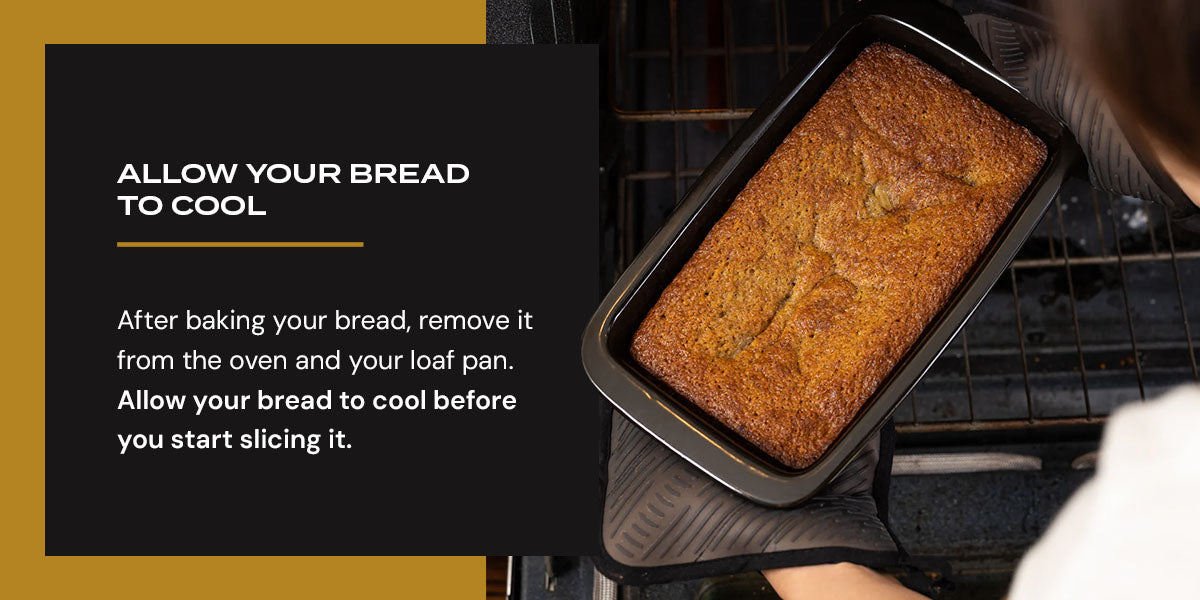
After baking your bread, remove it from the oven and your loaf pan. Allow your bread to cool before you start slicing it. Cooling your bread gradually keeps it soft and delicious. A cooling rack also prevents the bread from getting a soggy bottom.
Types of Bread
From risen or unleavened to sweet and savory, you can bake many different types of bread. Each has its own unique flavor to complement your meals. Not sure which bread to make? Here are some of the most popular breads from around the world:
- White bread: At the top of the list is one of the most well-known breads. Made from white flour, white bread is delicious as is or toasted to make a tasty sandwich.
- Whole wheat bread: Start your day with a slice of healthy whole wheat bread. It is made from flour using whole-grain or whole wheatberry, making it a more nutritional option than white bread.
- Rye bread: The classic Reuben sandwich is made from rye bread. It is made from rye flour and differs in its rich brown color and texture. Rye bread includes caraway seeds that add to the texture and flavor.
- Banana bread: This sweet baked goodness is known as a quick bread. You do not need to proof banana bread as it is made without yeast. After making the dough, you can pop it straight into the oven.
- Sourdough bread: Sourdough bread is made from a sourdough starter using wild yeast. It has a slightly sour taste due to the longer proofing process, creating a crispy bread that is both healthy and delicious.
- Zucchini bread: Like banana bread, this is also a quick bread. Depending on the recipe you use, you can create a sweet or savory baked treat that is moist and flavorful.
- Holiday bread: Start the festive season with a sweet holiday bread. This quick bread is packed with fruit and is easy to make.
- Baguette: Get a taste of Paris with this French bread. Known for its long and thin loaf shape, a baguette can stretch over two feet long. It is crispy on the outside and soft and chewy on the inside.
- Challah: Made with eggs and various toppings with different meanings, Challah is from the Jewish faith. It is known for its yellow color and braiding shape that symbolizes love.
- Bagel: Often topped with cream cheese, bagel shapes are round with a hole in the middle. You need to boil the dough before baking to give it its rich brown color.
- Cornbread: As the name suggests, cornbread is made from cornmeal. It is a quick bread and is traditionally made in a skillet, giving it its golden color.
- Ciabatta: Created in 1982, ciabatta is an Italian bread. It is an excellent sandwich bread, making delicious paninis with added olive oil and herbs. You can use a baking dish to bake ciabatta in the oven.
Basic Ingredients You Need to Bake Bread
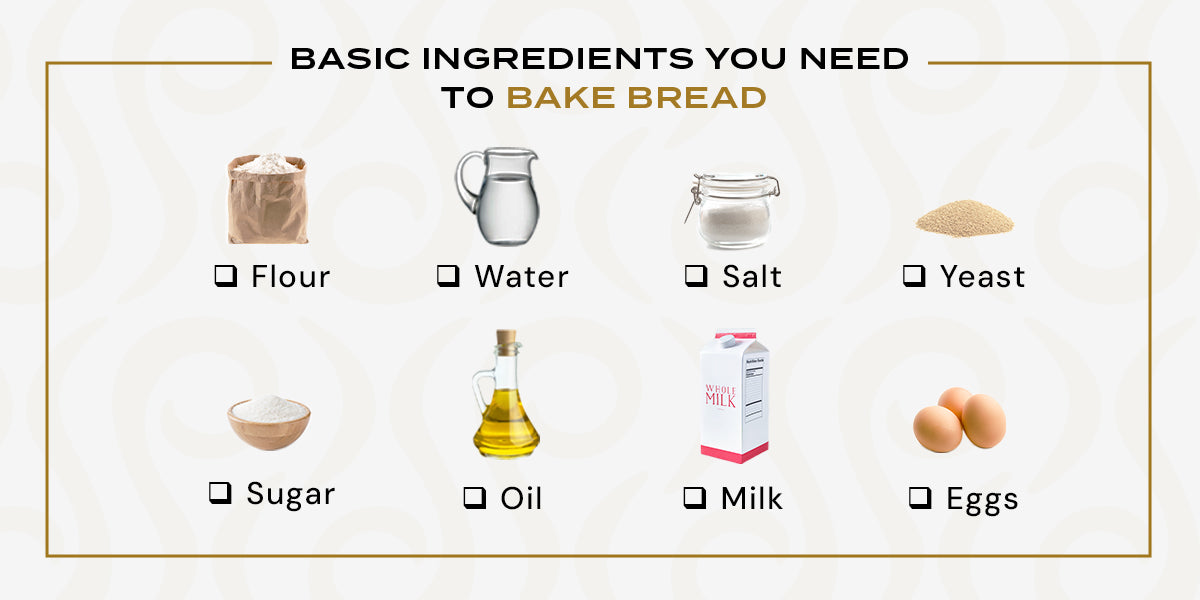
The recipe you use for your bread can alter the shape and size of your final product. However, there are a few basic ingredients you can find in almost every bread:
- Flour: This is the main ingredient. You can choose from several different types of flour.
- Water: This is the main liquid used to form the dough.
- Salt: It enhances the flavor of bread and slows down the proofing stage.
- Yeast: Leavening causes the bread to produce air bubbles and rise. It also affects the flavor and texture.
- Sugar: Sugar helps develop the yeast and adds a slight sweetness to balance the flavors of the dough. It also helps the bread rise while it proofs.
- Oil: Oil makes the bread soft and keeps it moist.
- Milk: Like oil, milk creates a softer texture to your bread.
- Eggs: Eggs are also a good way to keep your bread soft and add a rich flavor.
If you do not have these ingredients, you can make your bread using only flour, water, salt and yeast.
Flour You Can Use to Make Bread
The common types of flour you can use to make bread are:
- White flour
- Whole wheat flour
- Bread flour
- All-purpose flour
- Self-rising flour
The flour you use depends on the bread and recipe you want. For bread using a leavening or yeast, you can opt for bread flour or all-purpose flour. This includes white bread, whole wheat bread, sourdough bread and baguettes. To make quick bread, you should opt to use self-rising flour. This includes banana bread and zucchini bread.
Equipment You Need to Make Bread
You need a few pieces of equipment for baking bread. Some are vital to your breadmaking, while others are optional and can help make the breadmaking experience even better.
Here are the essential items:
- Convection oven: To bake your bread, you need an oven that will bake your bread and create a crispy texture.
- Mixing bowls: Opt for two bowls, allowing you to mix your dry and wet ingredients separately.
- Plastic wrap: This covers your dough while it ferments to create a humid and warm environment. Remember to lightly coat it with oil to prevent it from sticking to your dough.
- Measuring cups and spoons: You need the correct measurements to create a well-baked bread.
- Dough scraper: This tool will help you shape or divide bread such as bagels and sourdough bread.
- Loaf pan: For a classic loaf shape, you can use a loaf pan made from glass, tin or ceramic.
- Mason jar: Keep your sourdough starter sealed in a mason jar or other airtight container.
- Bread knife: You need a long, sharp bread knife to cut through the crispy exterior of bread, such as ciabatta and baguettes.
- Oven gloves: Instead of using a towel, oven gloves prevent your hands from burning when removing your fresh bread from the oven.
- Parchment paper: This will help prevent your bread from sticking to the loaf pan.
This equipment isn't necessary but can make bread-making easier or more enjoyable:
- Proofing basket: If you do not want to proof your bread in the mixing bowl, you can ferment it in a proofing basket, also known as a banneton.
- Silicone mat: Prevent your dough from sticking to your surfaces with a silicone mat.
- Cooling rack: Allow the top and bottom of your bread to cool gradually using a cooling rack.
- Scale: Apart from measuring cups and spoons, you can also weigh your ingredients, such as sourdough starter, with a scale.
- Thermometer: You can use a thermometer to check the center of your bread to ensure it is done baking.
- Lame: For intricate designs, you can use a lame to score the top of your bread.
- Danish dough whisk: To mix your dough before kneading, you can use a Danish dough whisk.
- Stand mixer: A stand mixer mixes and kneads your dough in half the time.
- Dutch oven: Create the high temperature you need to steam and bake your bread using a Dutch oven.
- Timer: Since you need to bake your bread for around 35 minutes, a timer will help you keep track of how many minutes you have until you can enjoy your baked goods.
Bake the Perfect Bread With Our Ceramic Bakeware
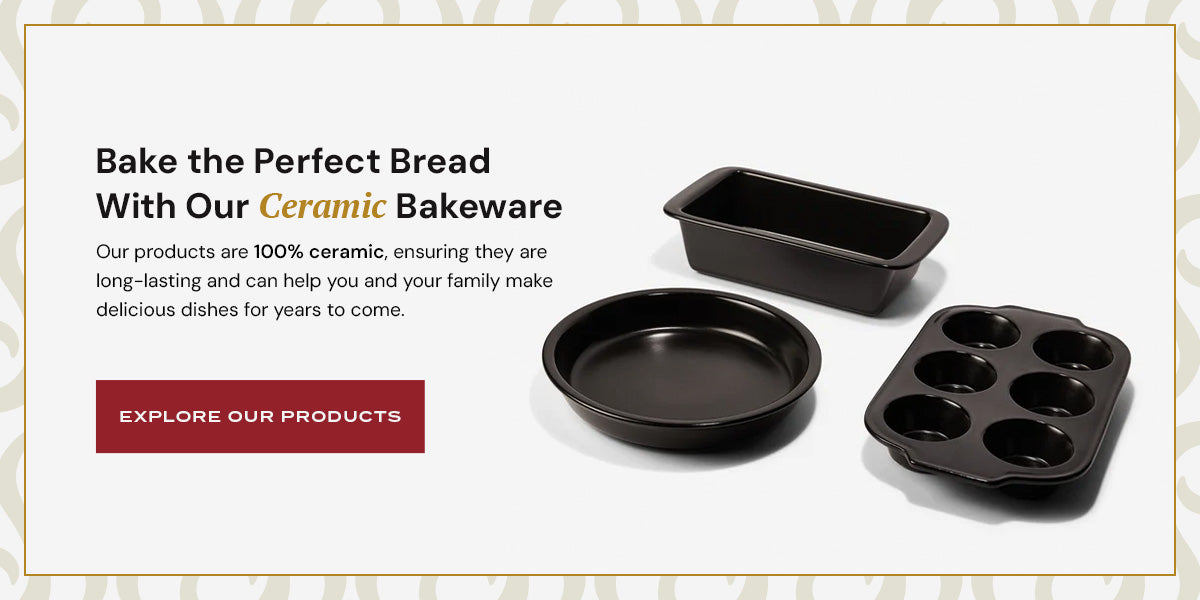
Now that you have the ultimate guide to baking bread, you need the tools that can help you make your own crispy and fluffy homemade bread. With our trusted ceramic bakeware, you can create a mouthwatering side dish ready for the main stage.
Our products are 100% ceramic, ensuring they are long-lasting and can help you and your family make delicious dishes for years to come. Our ceramic products can help you create healthy dishes packed with nutrients and flavor.
To make our Xtrema ceramic items your own, shop our products online today.